WebP to JPG or PNG: choose for photos, text and transparency
Use JPG for a photo copy when the destination requires it. Try PNG for transparency or fine text, and verify what the converter actually preserves.
Updated 2026-10-09
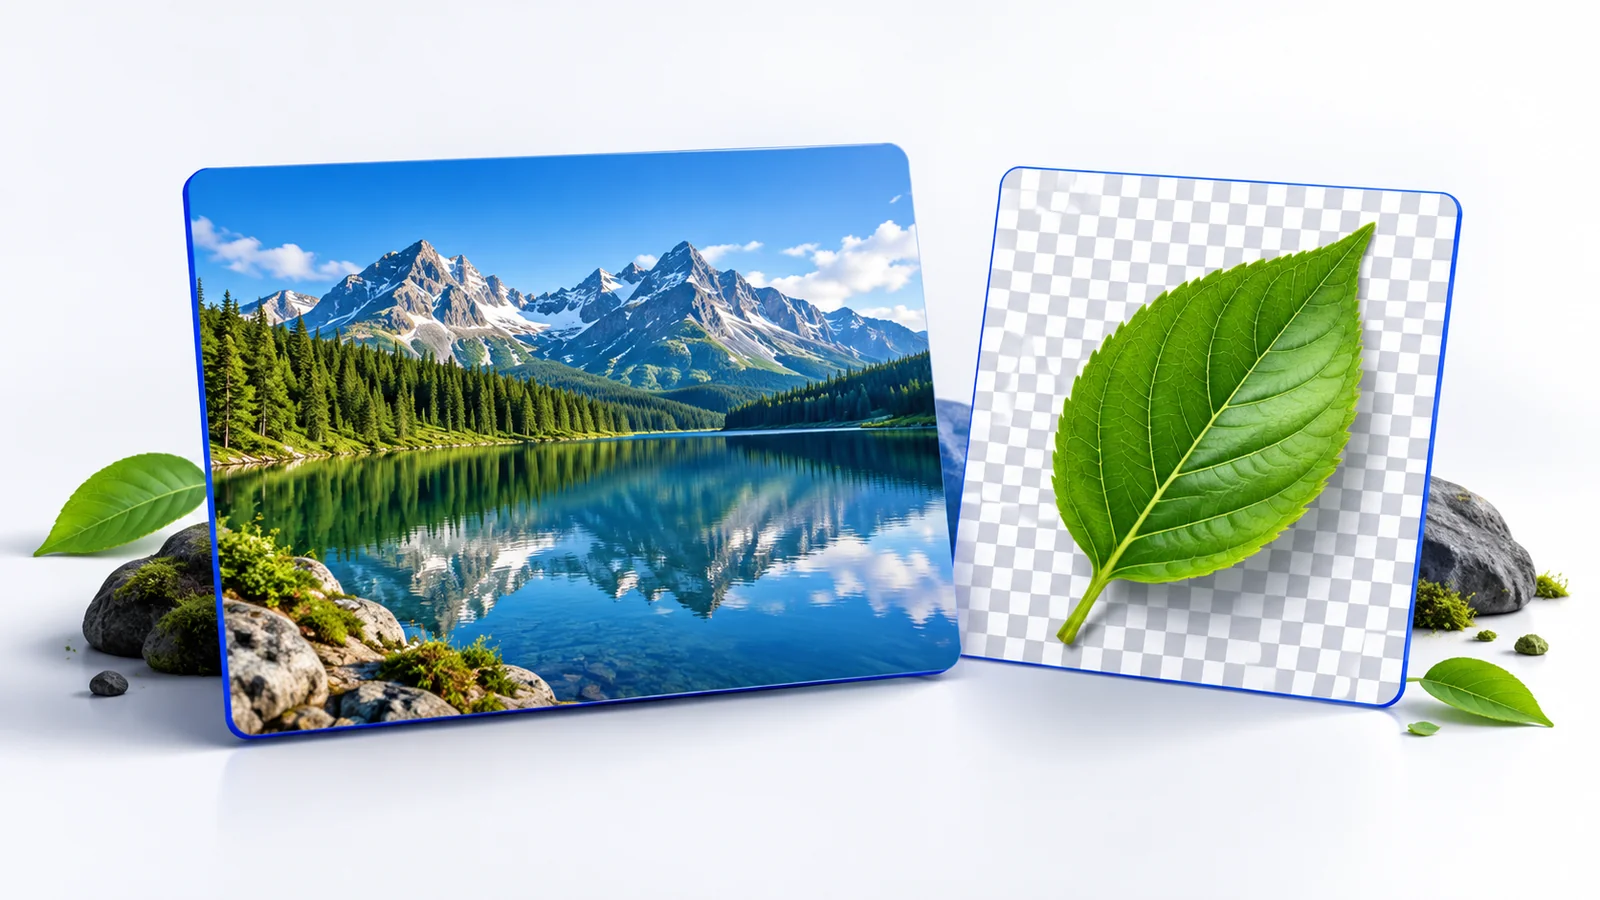
Choose JPG for a WebP photograph when the receiving app requires JPEG and you do not need transparency. Choose PNG when transparency or fine graphic detail matters, then check that the converted file preserves what you need. Keep the WebP source so you can try another output.
If your app already accepts WebP, you may be able to use the original. Google documents WebP support in major browsers, although a particular upload form or editing tool can have its own accepted formats.
Start with the destination
Check the format requested by the website, document editor or presentation tool. Then check whether the image needs a transparent background.
For example, a photo placed in a rectangular frame may work as JPG. A cutout graphic placed over a colored slide needs its empty background to remain empty. These are illustrative uses, not measured conversion results.
If the destination demands JPG, plan a background for transparent artwork before conversion. A JPG cannot retain the transparency of the source. Check the resulting background rather than assuming the converter uses the color you intended.
Compare compression and transparency
JPEG uses lossy compression and does not support an alpha channel for transparency. PNG uses lossless compression and supports transparency. MDN's format guide describes those format properties.
Google's WebP documentation describes both lossy and lossless WebP, with transparency support. The .webp extension alone therefore does not tell you whether the source has already lost image detail.
Saving that source as PNG cannot restore detail lost earlier. Likewise, a higher JPG quality setting cannot turn JPEG into a lossless format. Pick the output for the destination, then inspect the result.
Use the right conversion route in Chrome
Convert WebP to JPG has two documented routes. Its Chrome Web Store listing describes Save image as JPG in the right-click menu and a local batch workflow with JPG or PNG output.
Use the context-menu action when you want a JPG from a supported image on a webpage. For PNG or a set of local WebP files, use the extension's file-conversion view and check its output settings before adding files. The listing describes conversion starting as files are added.
The documented context-menu action saves JPG. Use the local-file workflow for PNG; the listing does not describe a right-click PNG action.
Test a representative file
Convert one file before adding the rest of the folder. Open it in the destination and check:
- Whether a transparent area remains transparent where you need it.
- Whether fine lettering and edges remain readable at the size you will use.
- Whether the image has the expected dimensions and orientation.
- Whether the actual output file fits the destination's size limit.
PNG's format support for transparency is not proof that this extension preserves every transparent pixel or color profile. Its listing does not give a transparency or metadata guarantee, so use the sample to check your requirement.
For an animated source, use a tool that explicitly documents the animation workflow you need. This extension's image-conversion description does not establish that JPG or PNG output retains a WebP animation.
Keep the original and the working copy
Keep your source WebP separately from the converted files. If a JPG looks rough, try different settings from the original source. Repeatedly converting a previously compressed copy cannot recover the detail you discarded.
Use a filename that lets you identify the output when you insert it into a document. If you needed a background change or a smaller image, check that final edited copy too. The file you tested should be the one you actually use.